Transform Your Fireplace with a Stunning Whitewash Finish
Welcome back to another exciting blog post from Stacy Burgin, your go-to real estate expert from Terra Point Realty! Today, we are diving into a popular DIY project that can instantly revamp the look and feel of your living space – whitewashing a fireplace. Whether you have a traditional brick fireplace or a dated stone surround, this cost-effective technique can breathe new life into your home. So, grab your paintbrushes and let’s get started on this creative journey!
Understanding Whitewashing
Whitewashing is a technique that dates back to ancient times. Traditionally used to protect and brighten walls, it has evolved into a versatile and visually appealing finish for fireplaces. Unlike painting, whitewashing allows the natural texture and imperfections of the brick or stone to shine through, giving it a rustic and timeless charm.
Materials Needed
White latex paint (water-based)
Water
Trisodium phosphate (TSP) for cleaning
Scrub brush
Large paintbrush (for applying the whitewash)
Small paintbrush (for detailed areas)
Sponge (for dabbing)
Drop cloths (to protect surrounding areas)
Painter’s tape (to mask off areas)
Rags (for corrections)
Step-by-Step Instructions
Preparing the Surface
Before you begin, it’s crucial to prepare the surface properly to ensure the whitewash adheres well. Start by cleaning the fireplace thoroughly with a stiff brush and a solution of mild detergent and water. Remove any loose debris or soot, and let it dry completely. Cover the surrounding area with drop cloths to protect your flooring and furniture.
Protect Surroundings:
Cover the floor and any furniture near the fireplace with drop cloths. Use painter’s tape to mask off areas you don’t want to paint, such as the mantel and adjacent walls.
Clean the Brick
Remove Dirt and Soot:
Mix TSP with warm water according to the package instructions. Use a scrub brush to clean the brick thoroughly, focusing on removing soot and debris. Rinse with clean water and allow the brick to dry completely before proceeding.
Choosing the Right Whitewash
When it comes to selecting the perfect whitewash, there are a few options available. Traditional lime-based whitewash creates an authentic, chalky appearance, while modern acrylic or latex-based whitewashes offer more durability. Consider the style and aesthetic of your home to determine the best fit. You can also experiment with tinted whitewashes to create a unique look that complements your decor.
Mixing and Applying the Whitewash
Once you’ve chosen your whitewash, it’s time to mix it to the desired consistency. Follow the manufacturer’s instructions carefully. Generally, you’ll need to mix the whitewash with water until it reaches a thin, paint-like consistency. Stir well to ensure a smooth blend.
Create the Whitewash:
Combine white latex paint with water to create a whitewash mixture. A common ratio is 1 part paint to 1 part water for a more opaque look, or 1 part paint to 3 parts water for a more translucent effect. Adjust the mixture based on how much of the brick you want to show through.
Now, it’s time to apply the whitewash!
Apply the Whitewash:
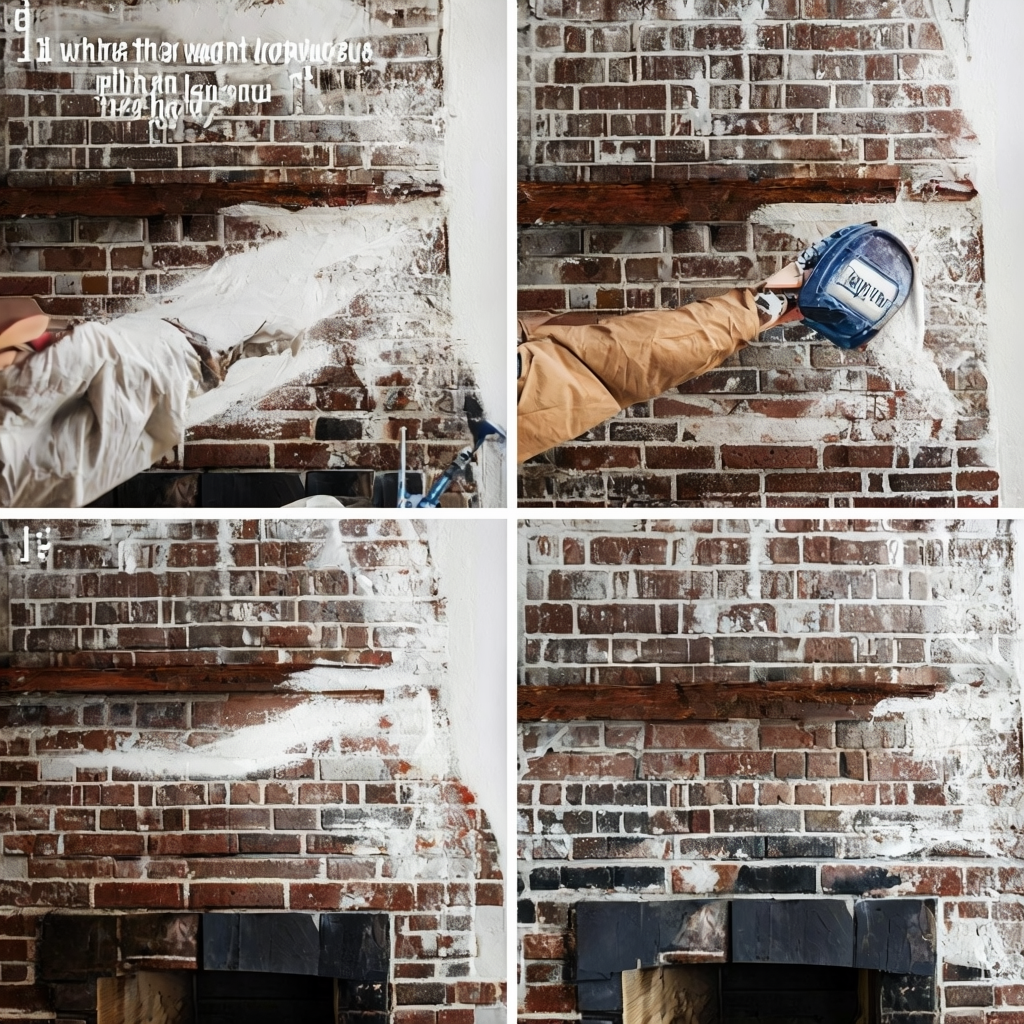
Using a brush or a roller, start applying the whitewash mixture to the fireplace surface. Work in small sections, ensuring even coverage. Don’t worry if the first coat looks uneven; whitewashing is meant to have a slightly imperfect finish. Allow the first coat to dry completely before applying additional coats. Depending on the desired effect, you can add more coats for a more opaque finish or leave it slightly transparent for a subtle whitewash effect.
Start Painting
Use a large paintbrush to apply the whitewash mixture to the brick. Begin at the top and work your way down to avoid drips. Apply the mixture in thin layers, allowing each coat to dry before adding more. However, if you apply too much in one area, use a clean rag or sponge to soak it up.
Detail Work
For mortar lines or intricate areas, use a small paintbrush to ensure those spots are well covered. Therefore, this step helps achieve a more finished look.
Finishing Touches
Once you’re satisfied with the whitewash coverage, it’s time for the finishing touches. However, if you prefer a weathered look, gently sand certain areas of the whitewash to create a distressed effect. Furthermore, for added protection and durability, consider applying a clear sealer or wax to the whitewashed surface. Therefore, this will help seal the whitewash and make it easier to clean in the future.
Evaluate and Adjust:
After the first coat dries, assess the coverage. Also, you can add additional layers if you desire a more solid appearance. For example, typically, 2-3 thin coats are recommended for best results.
Clean Up
Remove Tape and Clean Tools:
Once you are satisfied with the whitewash, carefully remove the painter’s tape. Clean your brushes and any other tools used during the process.
Tips for Success
Test First:
If unsure about the color or opacity, test the whitewash mixture on a small, inconspicuous area of the fireplace first.
Choose the Right Paint:
Opt for a matte or flat finish to maintain a natural look. For example, semi-gloss can make the brick appear too shiny and artificial.
Consider the Texture:
Whitewashing allows the texture of the brick to remain visible. Therefore, which adds character to the fireplace. Furthermore, if you prefer a more uniform look, consider painting instead of whitewashing.
Enjoying Your Transformed Fireplace
Now that your fireplace has undergone a stunning whitewash transformation, it’s time to sit back, relax, and enjoy the cozy ambiance it brings to your home. Therefore, gather around with loved ones, light a crackling fire, and let the magical glow of your newly rejuvenated fireplace warm your heart.
Conclusion
In conclusion, whitewashing your fireplace is an excellent way to update your living space without breaking the bank. Therefore, with a little bit of creativity and some elbow grease, you can achieve a beautiful, personalized finish that adds character and charm to your home. However, remember if you ever decide to sell your property, a whitewashed fireplace can be a selling point that sets your home apart from the rest. So, why wait? Grab your paintbrushes and embark on this exciting DIY project today! Stay tuned for more inspiring tips and ideas from Stacy Burgin at Terra Point Realty. Happy whitewashing!

Contact Information
To schedule a coffee date or learn more about how to whitewash a fireplace, contact Terra Point Realty at 713-766-1697. Their friendly and knowledgeable team is ready to assist you with how to whitewash a fireplace. Don’t miss out on the opportunity to live in your dream house – schedule a coffee date today and start your journey towards how to whitewash a fireplace.
