Complete Guide to Closing On Your New Home
Get excited! It's time to close on your home. Here is a complete guide for what you can expect at the closing of your new house.
You’ve been working with a real estate agent to find the perfect property for you. You toured properties and got an offer accepted, navigated the mortgage process, and now it’s just one step left: closing on your new home!
So what exactly is closing on a first home? Here are some simple guidelines to help you through the process, including what it consists of.
The Basics Of Home Closing
Closing is the name given to a process by which any property’s title and deed are transferred from seller to buyer, officially making that person their new owner. It also provides an opportunity for reviews of all closing documents, reassurance of the cleanliness of titles, releasing funds held in escrow by parties owed money who have been involved in purchases. Closing is done as a final step ensuring secure transactions.

Closing Process
The closing process typically involves a number of different parties:
- You: The Buyer/Purchaser
- Bank: The Mortgage Lender
- Real Estate Attorney: They can represent you or the seller, or both sides may have attorneys.
- Title company: Title companies help people buy, sell and refinance properties by conducting a title search of public records related to the property. They make sure that if there are any issues with the title they can be resolved so they can proceed with the transaction.
These people had a role in the sale but typically do not attend the closing:
- Seller’s Agent: The person who arranges the transaction between buyer and seller.
- The Seller: Homeowner
The three basic steps to the closing process are signing mortgage documents, completing paperwork for transfer of property, and transferring payment.
Step 1: Signing Mortgage Documents At Home Closing
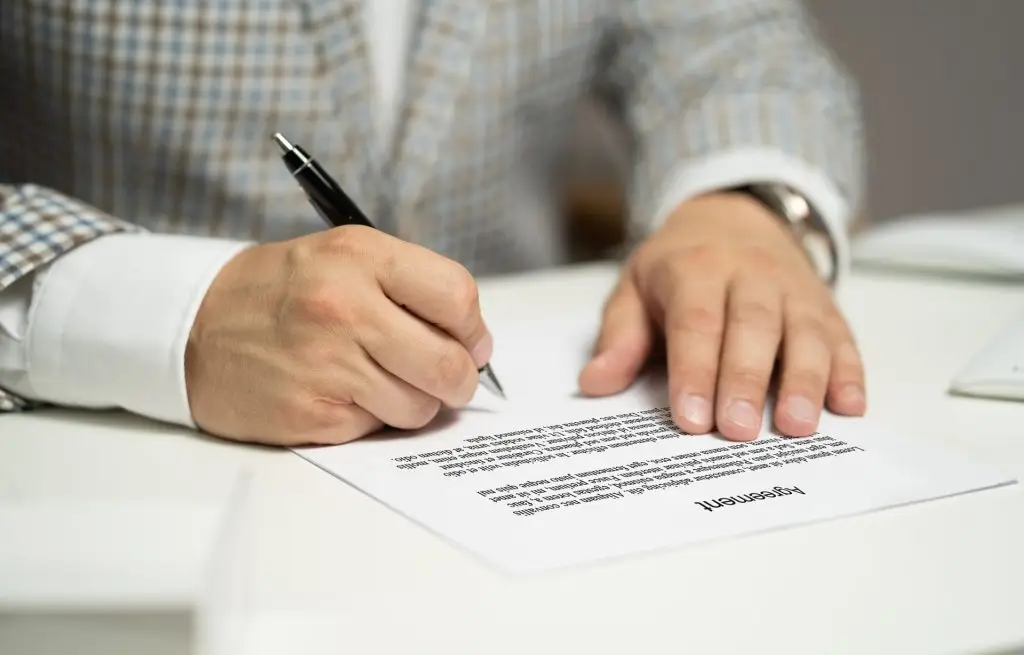
The first step is signing all documents pertaining to the loan you’re taking out, which include:
- Note: This is your loan contract, and typically includes a promissory note. The terms of the loan are set out here, as well as any prepayment penalties or pre-foreclosure rights should you fail to pay back the loan in full. It confirms that banks have the legal right to seize your property if needed.
- Affidavit: Certifies that you are who you say you are.
- Truth-In-Lending-Statement: This document discloses the interest rate, annual percentage rate (APR), amount financed, and total loan cost over its life.
- Monthly Payment: This explains the monthly payments involved in your mortgage. Remember to pay attention to any extra costs that may have come up.
Recently, many title companies and lenders have shifted to electronic documents. If e-docs aren’t available, be prepared to review anywhere from seven to 20 documents at the closing table.
Step 2. Property Transfer Paperwork
The second phase of closing allows you, the seller, and the title company representative to review all relevant paperwork prior to signing. You’ll exchange, verify and endorse any documents related to your transaction before finalizing it.
- DEED: This piece of paper is your proof that ownership has been transferred to you. It should include the names of the buyer and seller, property description, and usually guarantees that the seller has the right to sell this home.
- Bill of Sale: This document lists all the household items and furniture that are included in a sale. (if any)
- Certificate of Insurance: It will provide proof you have insured the home.
- HUD Form 1 or Disclosure/Settlement Statement: This paper covers the actual settlement costs and amounts, which should be explained by the closing broker or agent.
- Proration Agreement: These documents detail how you and the seller are dividing up costs for the home. The buyer may need to reimburse some of what was already paid by the seller, including property taxes.
- Acknowledgment Reports: The buyer has seen all reports about the property, such as surveys and inspections.
Make sure to consult your real estate agent before getting any notary service documents. Make sure the qualifications are appropriate for your needs and that detailed specifications have been met.

3. Transfer funds at your home closing.
The final step of closing involves transferring various payments to participating parties, namely the costs you’ll be paying for the process and transaction.
- Escrow: Payment for the buyer’s annual taxes, insurance, and other costs will be paid by the lender. A reserve account is established.
- Property Payment: When your offer is accepted, you’ll need to provide a deposit of earnest money. Your agent will let you know what forms of payment are acceptable for the remainder of the closing costs, usually cash or wire transfer.
- Closing Cost: These fees are expected to be paid by the buyer in order to close a real estate transaction. These can include appraisal fees, title insurance costs, inspection fees, and attorney’s fees.
Thanks to using electronic payments and documents, the process of closing will be a lot smoother. Just make sure you communicate with your agent beforehand and show up with everything you need. Now all that remains is for you to receive your keys and move in!